Adding an alert
Alerts are notifications that are triggered when specified measurement conditions occur on a station.
Before adding an alert, you must have a distribution group defined for sending alert notifications. See Adding a distribution group.
To add an alert:
-
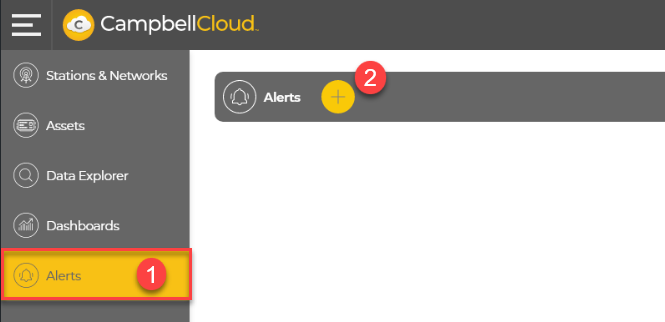
On the CampbellCloud home screen, select Alerts from the application menu.
-
Click
 .
.
-
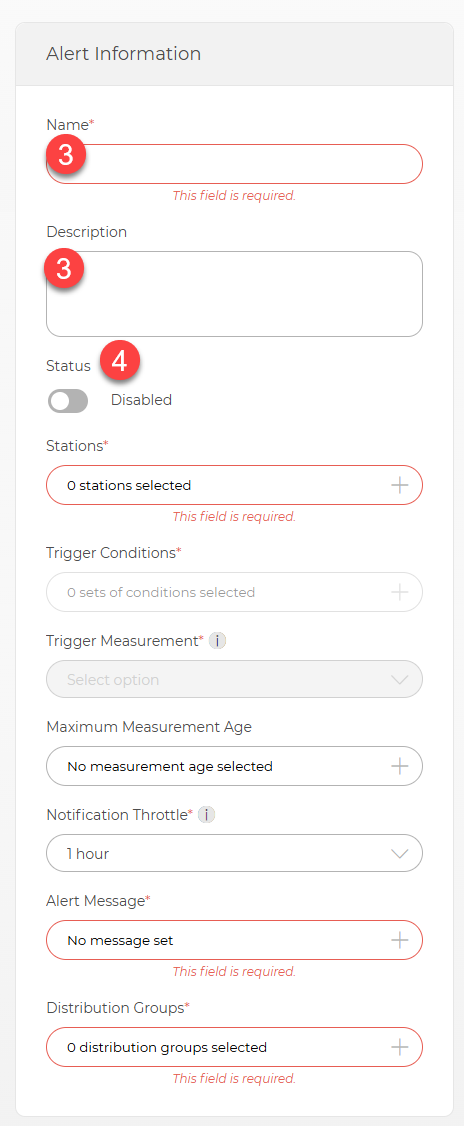
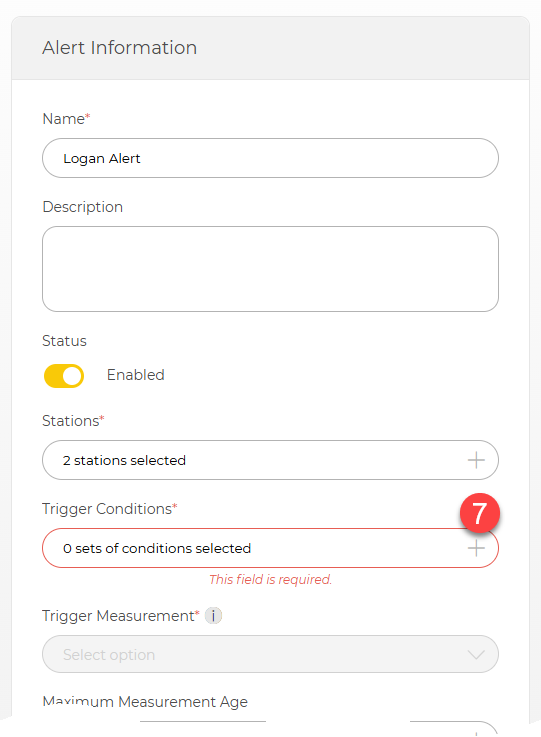
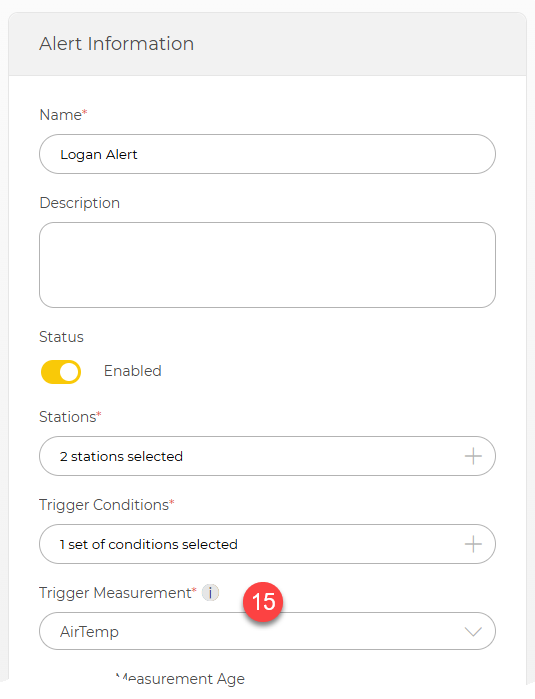
Enter a Name and optional Description for the alert.
-
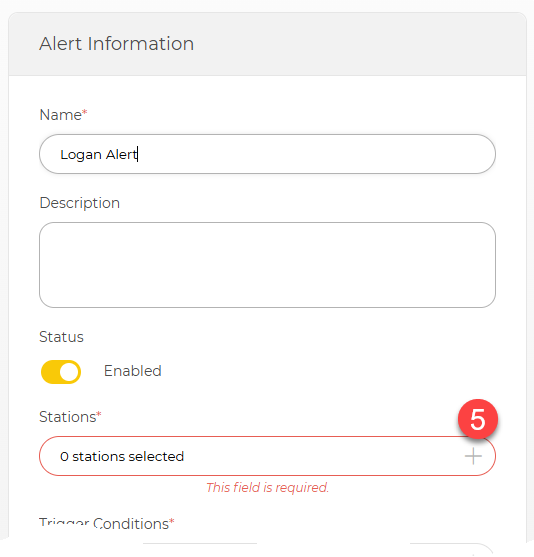
Set the Status to Enabled to enable the alert immediately. Leave it Disabled if you are creating an alert to be enabled later.
-
Click '+' to open a list of available stations.
-
Use the top filter box to view the stations for a certain network. Use the bottom search box to search for a station by name. Select the stations where the alert will run.
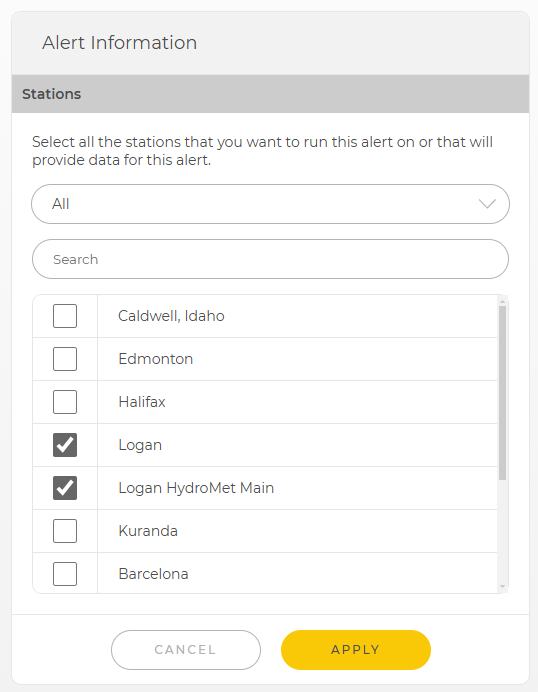
Click Apply.
-
Click '+' to a set the Trigger Conditions for the alert.
-
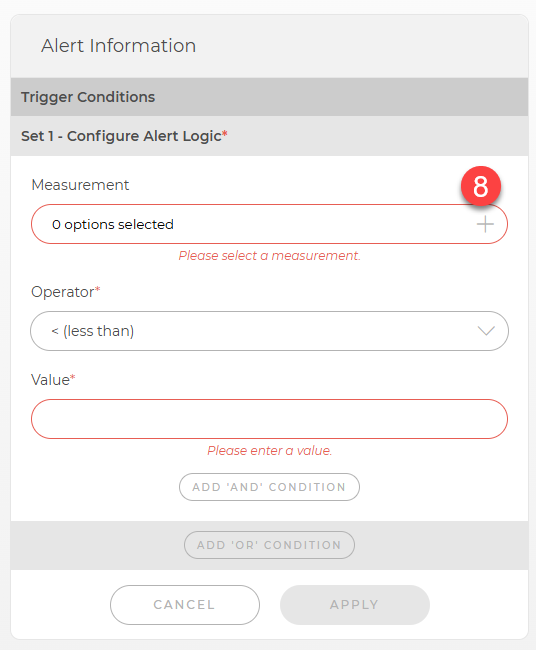
Click '+' to a select the Measurement for the trigger condition.
-
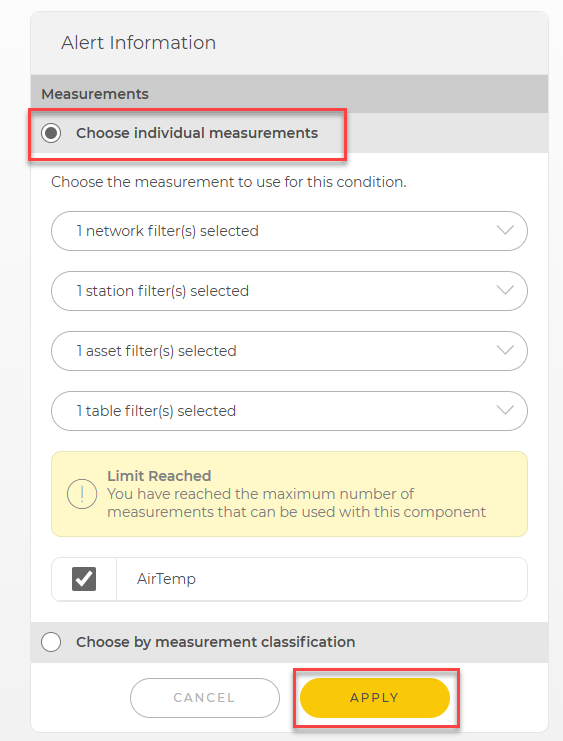
To choose a specific measurement, select Chose Individual measurements and then select the measurement. The Network, Station, Asset, and Table drop-downs can be used to filter the list of measurements. Click Apply.
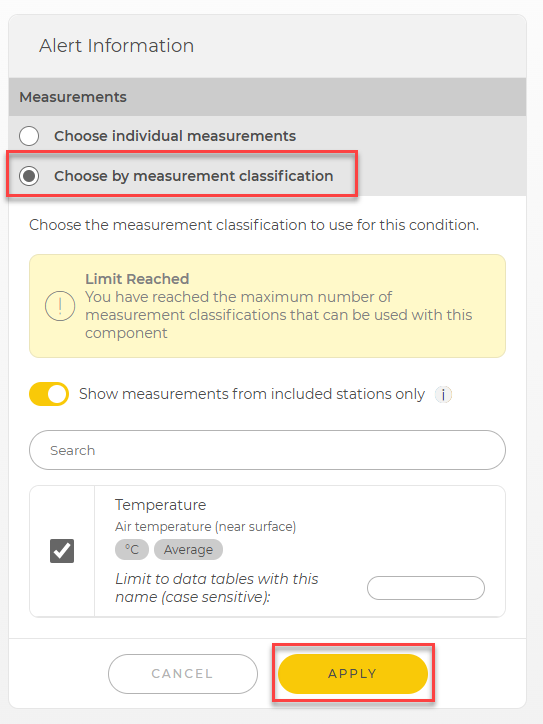
Alternatively, select a Choose by measurement classification. (Note this requires that measurement classifications have been predefined.) Select the measurement classification to use for the alert. Click Apply.
-
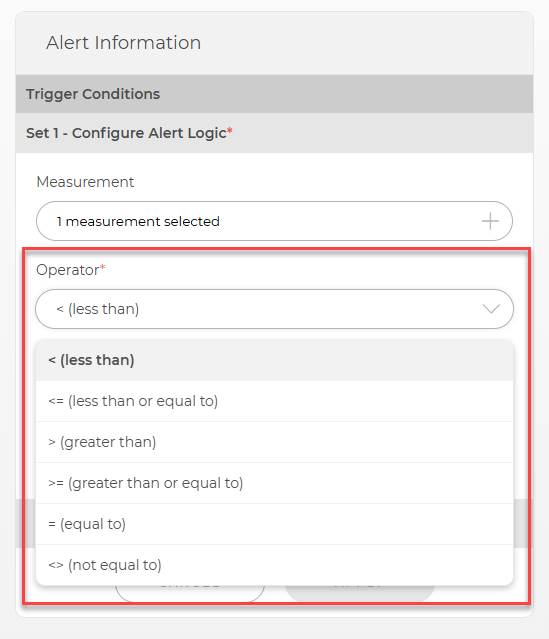
Select the Operator for the trigger condition:
-
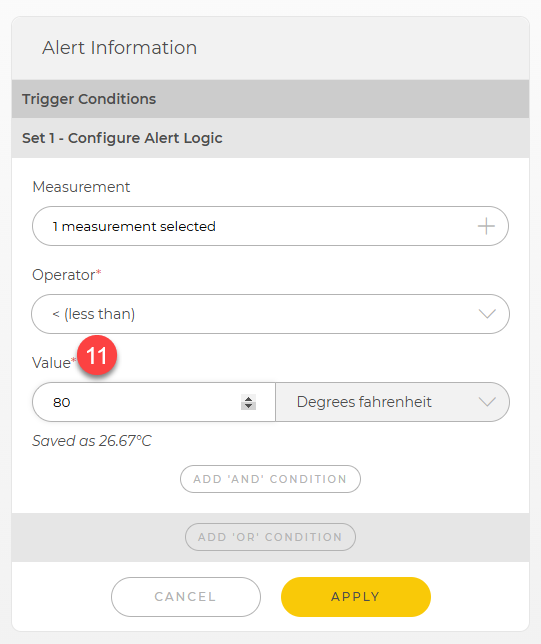
Enter the Value the measurement will be compared to when evaluating the condition.
-
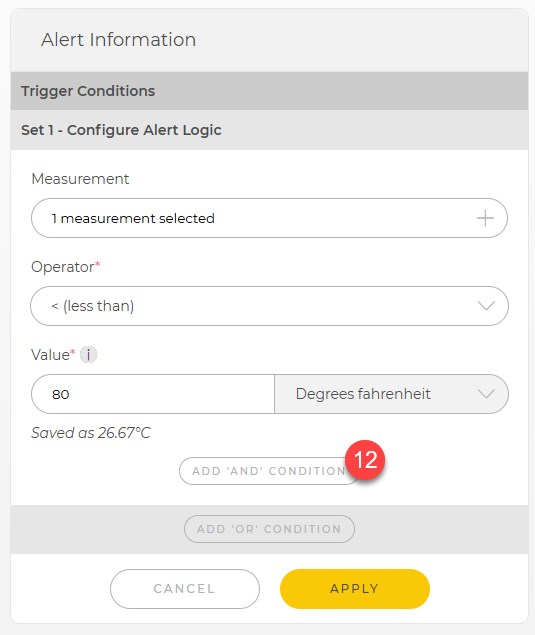
Conditions are added in sets. Each condition in a set is an AND condition. All conditions in a set must evaluate to true for the set to evaluate to true. To add a condition to a set, click ADD 'AND' CONDITION and repeat steps 9-11.
-
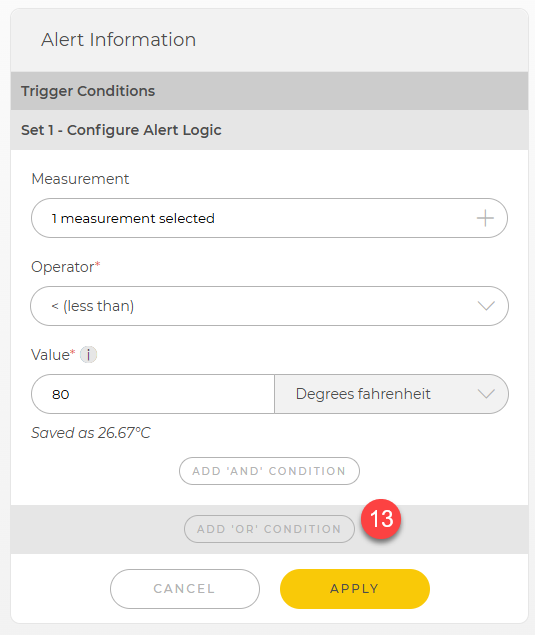
Multiple sets can be added. Sets are evaluated as OR conditions. When there are multiple sets, if any set evaluates to true the alert will trigger. To add a set, click ADD 'OR' CONDITION. Repeat steps 9-11.
-
When you have finished setting the AND and OR conditions, click Apply.
-
Select the Trigger Measurement. When a data point from the selected measurement arrives, all alert conditions will be evaluated.
-
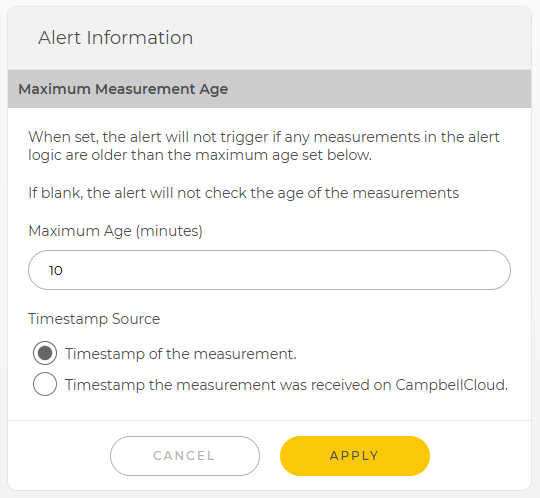
Click '+' to define the Maximum Measurement Age. In the resulting box, set the Maximum Age (minutes) and the Timestamp Source (to determine whether the age is based on the Timestamp of the measurement or the Timestamp the measurement was received on CampbellCloud).
When a Maximum Measurement Age is set, alerts will not trigger if any measurements in the alert logic are older than the maximum defined age. This is especially useful for alerts evaluating multiple measurements, since it ensures that all measurements being assessed fall within the specified maximum age limit.
-
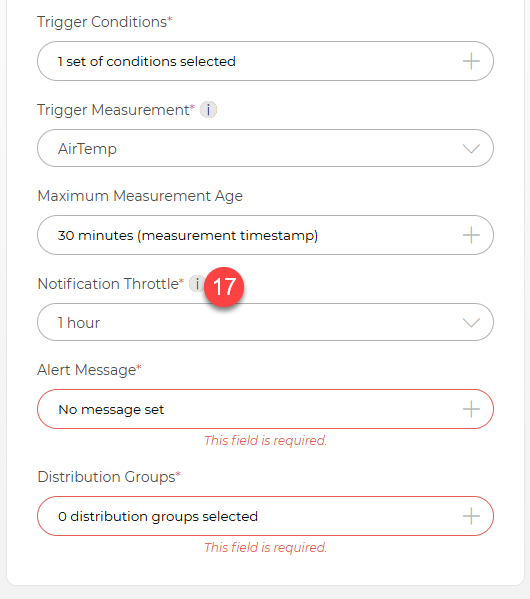
Use the Notification Throttle drop-down to limit how often notifications will be sent for the same trigger conditions. If the same trigger conditions are met multiple times during the throttle window, only one notification will be sent.
-
Click '+' to enter the Alert Message for the alert. In the resulting box, type the Message. The following variables are available to be used in the message:
- {}{asset_name}}} - inserts the data source asset name that the alert is associated with
- {{{station_name}}} - inserts the station name that the alert is associated with
- {{{received_timestamp}}} - inserts the time that data was received in CampbellCloud
- {{{data_timestamp}}} - inserts the timestamp of the data
- {{{value}}} - inserts the data value that caused the alert to trigger
As you type the message, CampbellCloud provides a Message Output Example with placeholder values used for the predefined variables. This is helpful in seeing what the message will look like. When you are happy with your message, click Apply.

-
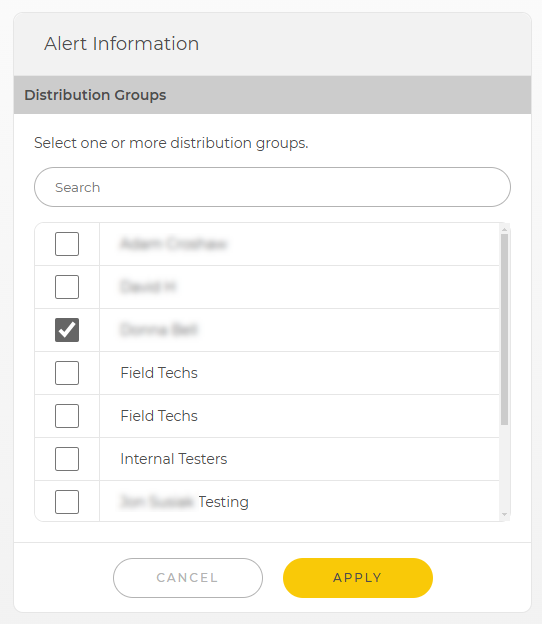
Click '+' to select the Distribution Groups for the alert. After selecting distribution groups, click Apply.
-
Click
 at the top to create the alert.
 -
You will be taken to the Alert Detail page for the alert.
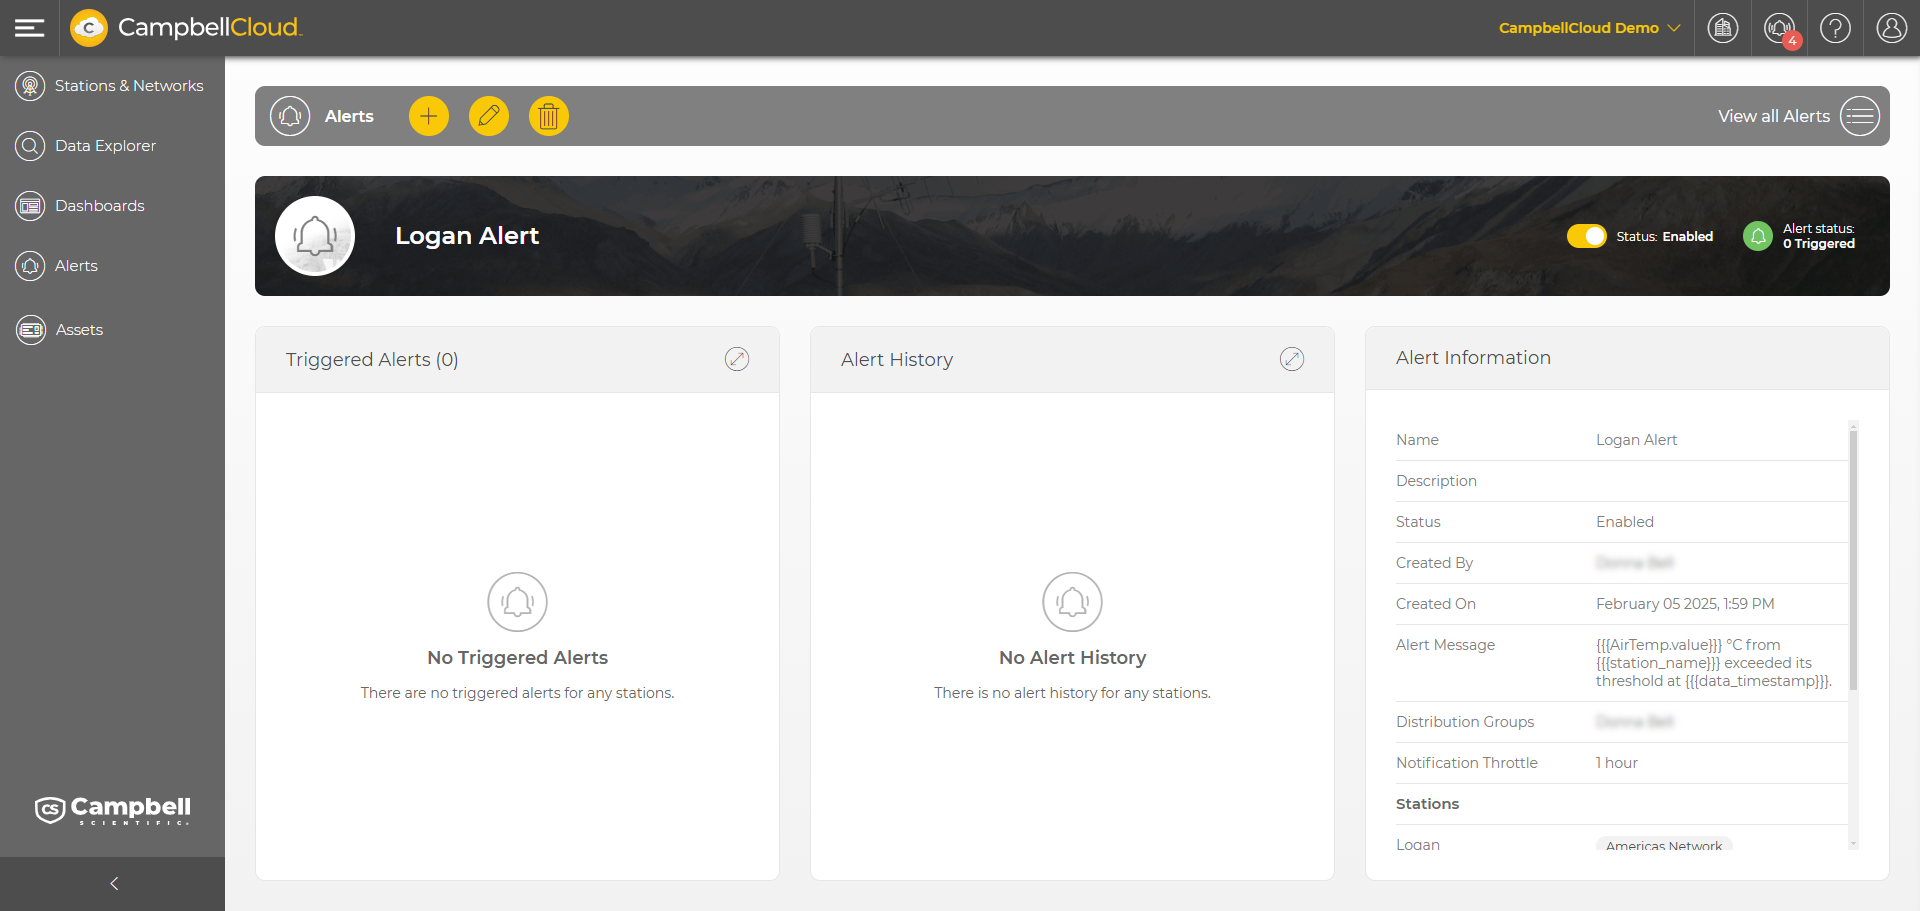
-
Click View All Alerts at the top right to return to the main Alerts page.
