Adding a dashboard
Users with Dashboards permissions can access dashboards from the left-hand Application menu.
Follow these steps to create a dashboard:
-
Either click the plus icon
 or Create a Dashboard to open the Dashboard Studio.
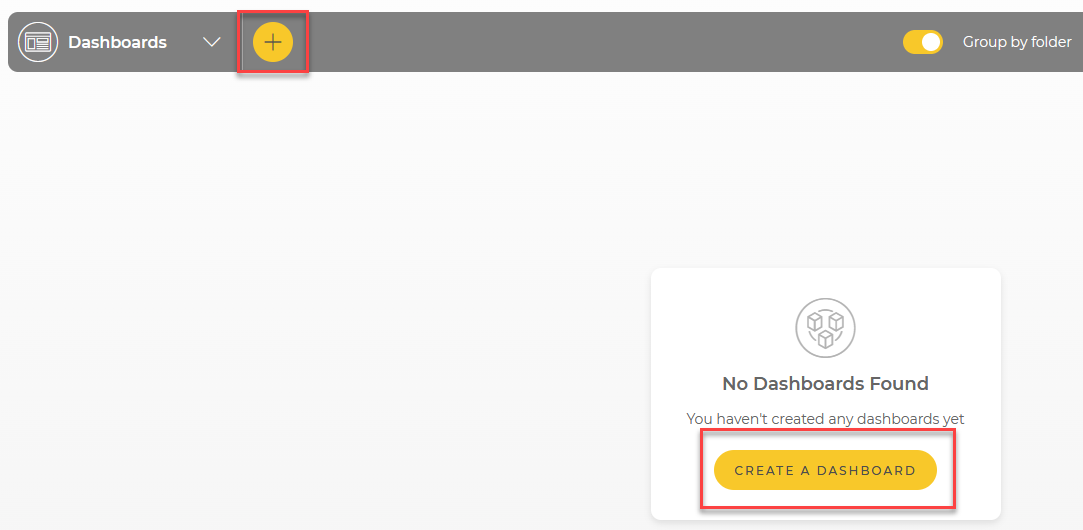
-
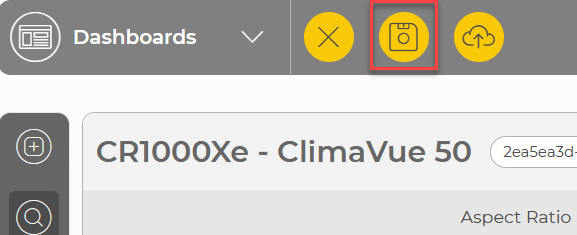
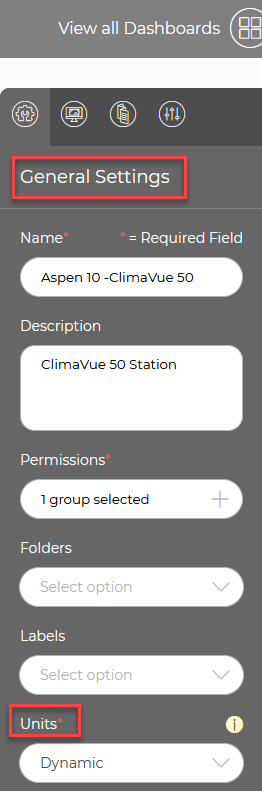
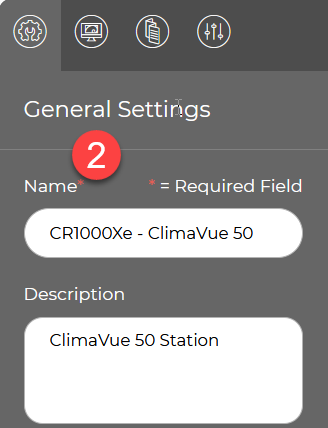
Go to the General Settings panel on the right side of the Dashboard Studio and name the dashboard; choose a name that reflects the data or station you are working with. For example, CR1000Xe - ClimaVue 50. Optionally, add a dashboard description.
-
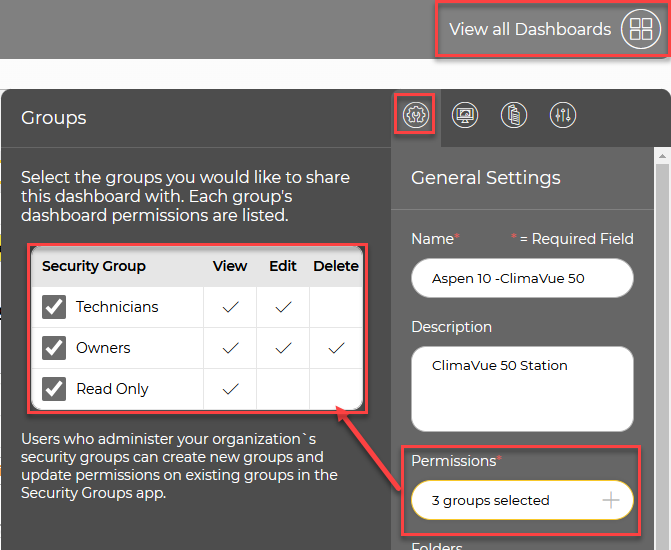
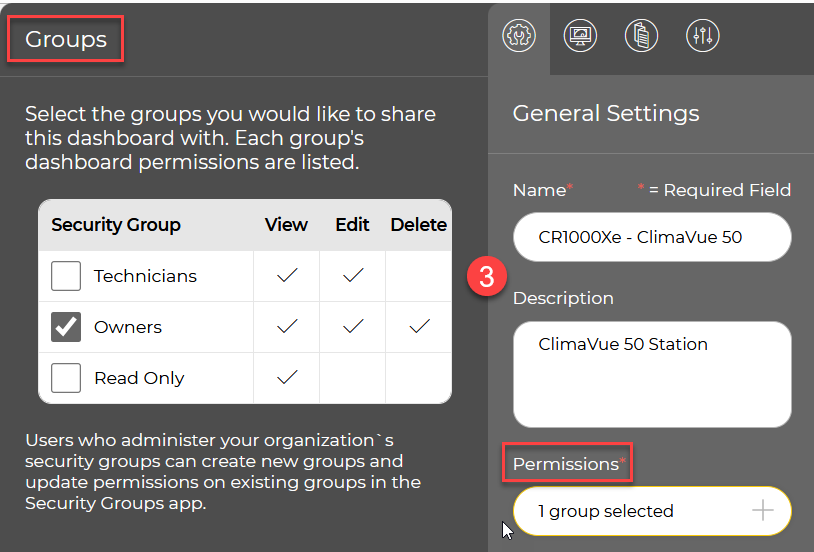
Click the permissions box to open the Groups tab, where you can assign access permissions to specific users or groups for the dashboard.
-
Click Apply.
-
Add components to the dashboard by dragging and dropping components from the Components panel onto the dashboard canvas.
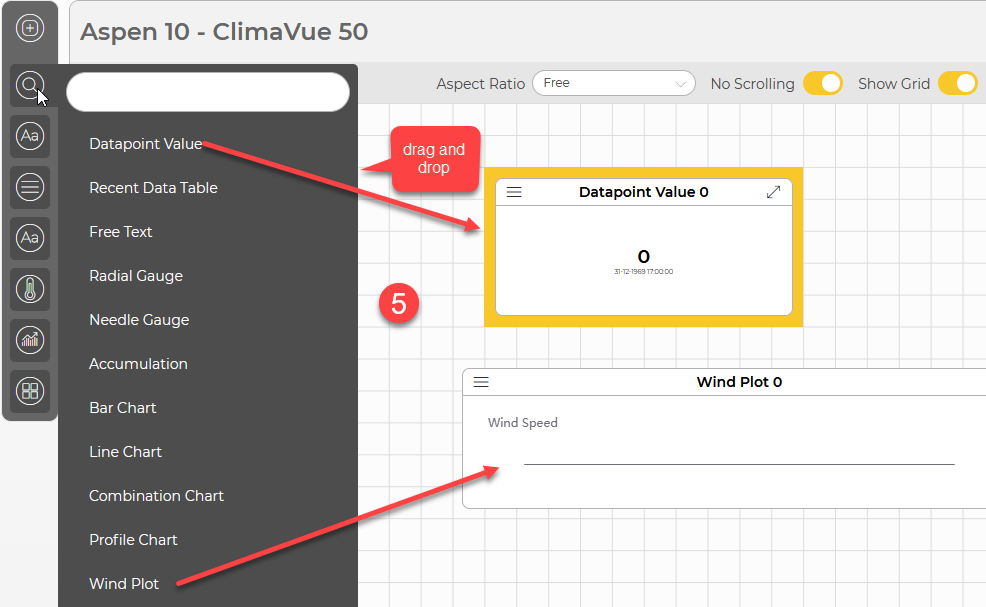
In order to move components after they have been dropped onto the canvas, hover your mouse over the top of the element and click the arrows at the top. You can re-size the component by clicking and dragging the arrows in the corners.
-
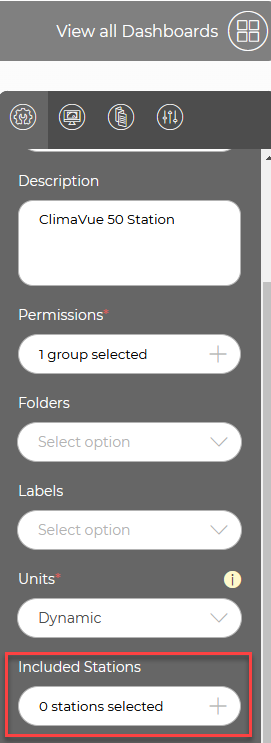
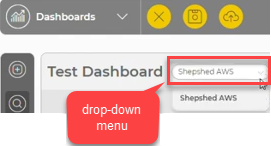
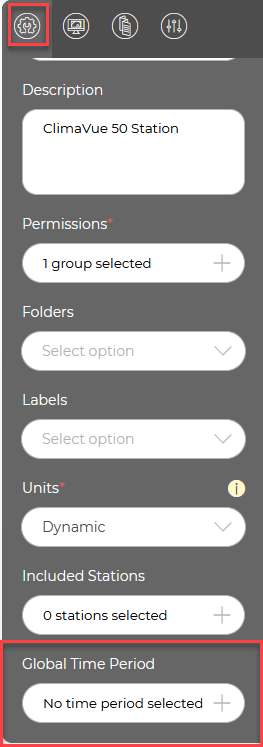
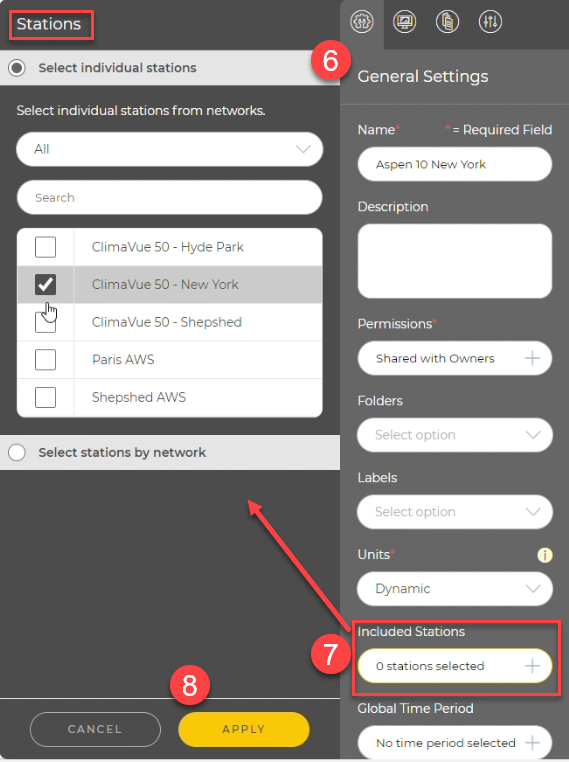
To set a data source for each component, click the General Settings icon and scroll down to Included Stations.
-
Click Included Stations to open the Stations window and select the station that will provide data for the component.
-
Click Apply.
-
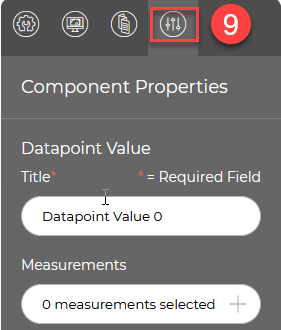
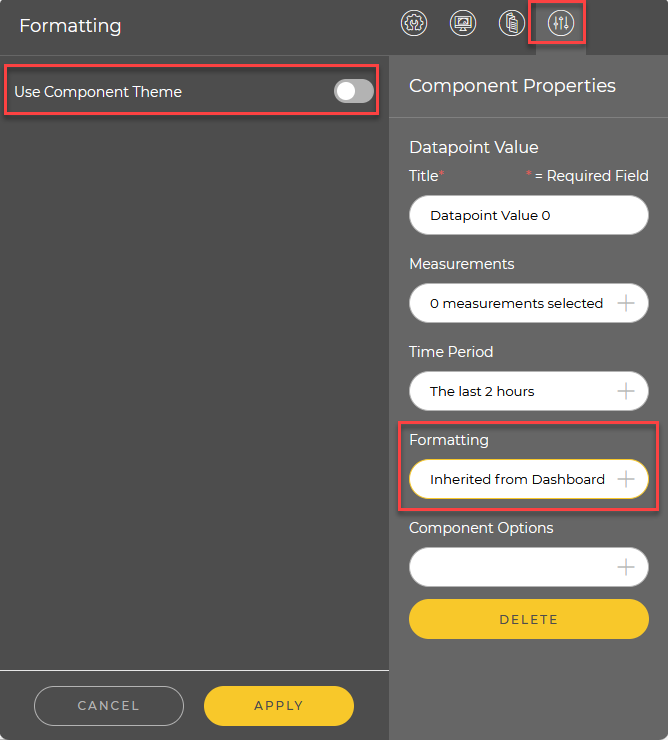
Click the Component Properties icon to configure properties such as the title and the measurement linked to the component.
-
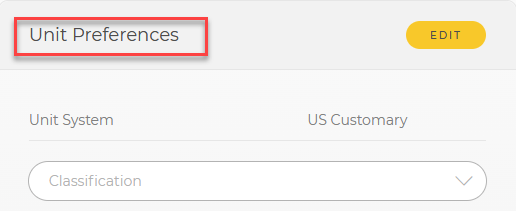
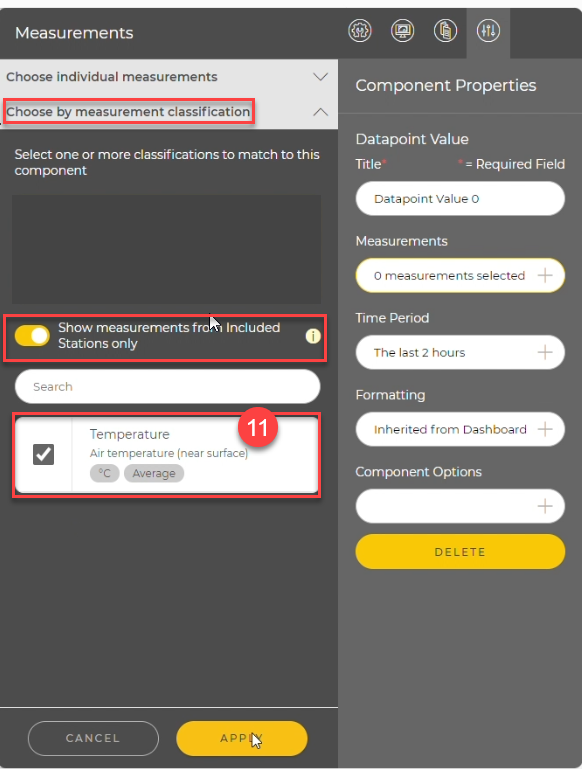
To link a measurement to a component, in the Components Properties window, click Measurements. If you have already assigned measurement classifications, select Choose by measurement classification. Alternatively, select Choose individual measurements.

-
Select the classification that matches the component. Click Apply when done.
-
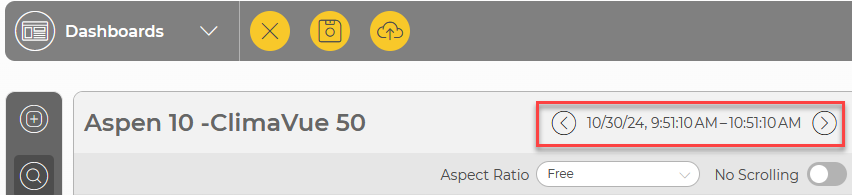
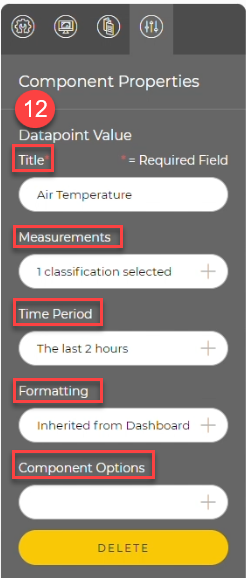
Use the Component Properties panel to configure the Title, Time Period, Formatting, and Component Options. Click Apply when done.
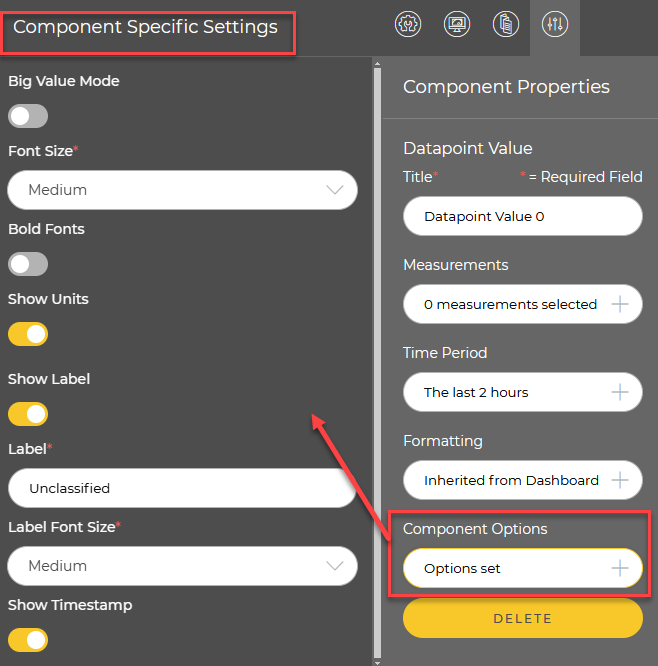
Component options include Big Value Mode, Font Size, Bold Fonts, Show Units, Show Label, and Show Timestamp. (Big value mode makes the value fill as much of the widget as possible.) Click Apply when done.
-
To format a component, click the Formatting box. By default the component format will be inherited from the dashboard General Theme (see Creating a dashboard theme). To create a custom theme for a component, click Use Component Theme. Click Apply when done.
-
When you are done adding and formatting components on the dashboard, click the Save icon at the top of the Dashboards studio.