Configuring a CR data logger for onboarding
A Campbell Scientific data logger with a UID can be configured to publish to CampbellCloud.
Only data loggers with a UID can be onboarded to CampbellCloud. All CR1000Xe data loggers are shipped with a UID. Additionally, data loggers with the serial numbers listed below—or higher—will include a UID:
| CR1000X | 59843 |
| CR6 | 25311 |
| CR350 | 9273 |
| CR310 | 23126 |
For some recent data loggers that did not ship with a UID, it may still be possible to obtain one. For more information, see: Obtaining a Unique Identification Number (UID) to use with CampbellCloud.
It is best practice to add the data logger as an asset in CampbellCloud before configuring it for onboarding (see Adding an asset in the Assets app). When a data logger is configured prior to being added to CampbellCloud, it may be assigned a temporary (“dummy”) base topic (for example, cs/v2/111111111111111). If the data logger remains in this state for any period of time, it can repeatedly attempt to connect using that temporary topic, and those connection attempts can conflict with other devices using the same placeholder topic. This can lead to repeated disconnect/reconnect behavior and unnecessary data transmission, potentially resulting in unexpectedly high data usage. Adding the data logger as an asset first ensures it is registered and receives the correct, unique Cloud topic before onboarding, preventing these connectivity conflicts and avoiding excess data consumption.
Follow these steps to prepare your data logger for CampbellCloud:
To avoid data loss, collect any unsaved data prior to configuring the data logger for onboarding to CampbellCloud.
-
Ensure the data logger has the latest operating system installed. Operating systems are available from the Campbell Scientific website: https://www.campbellsci.com/downloads/operating-systems-datalogger
 . Also ensure that Device Configuration Utility is up to date.
 -
Ensure that your data logger has internet access.
-
Connect to your data logger with Device Configuration Utility.
-
Navigate to the Cloud Connection tab.
-
Select the CampbellCloud Enabled checkbox.
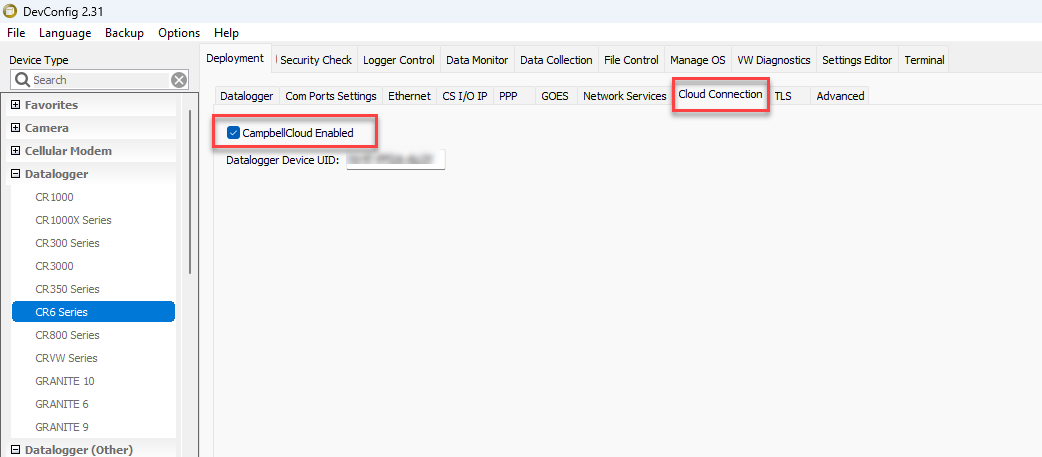
-
Apply the settings. The data logger will then restart and begin connecting to CampbellCloud, including authentication with the platform. This process may take a few minutes.
-
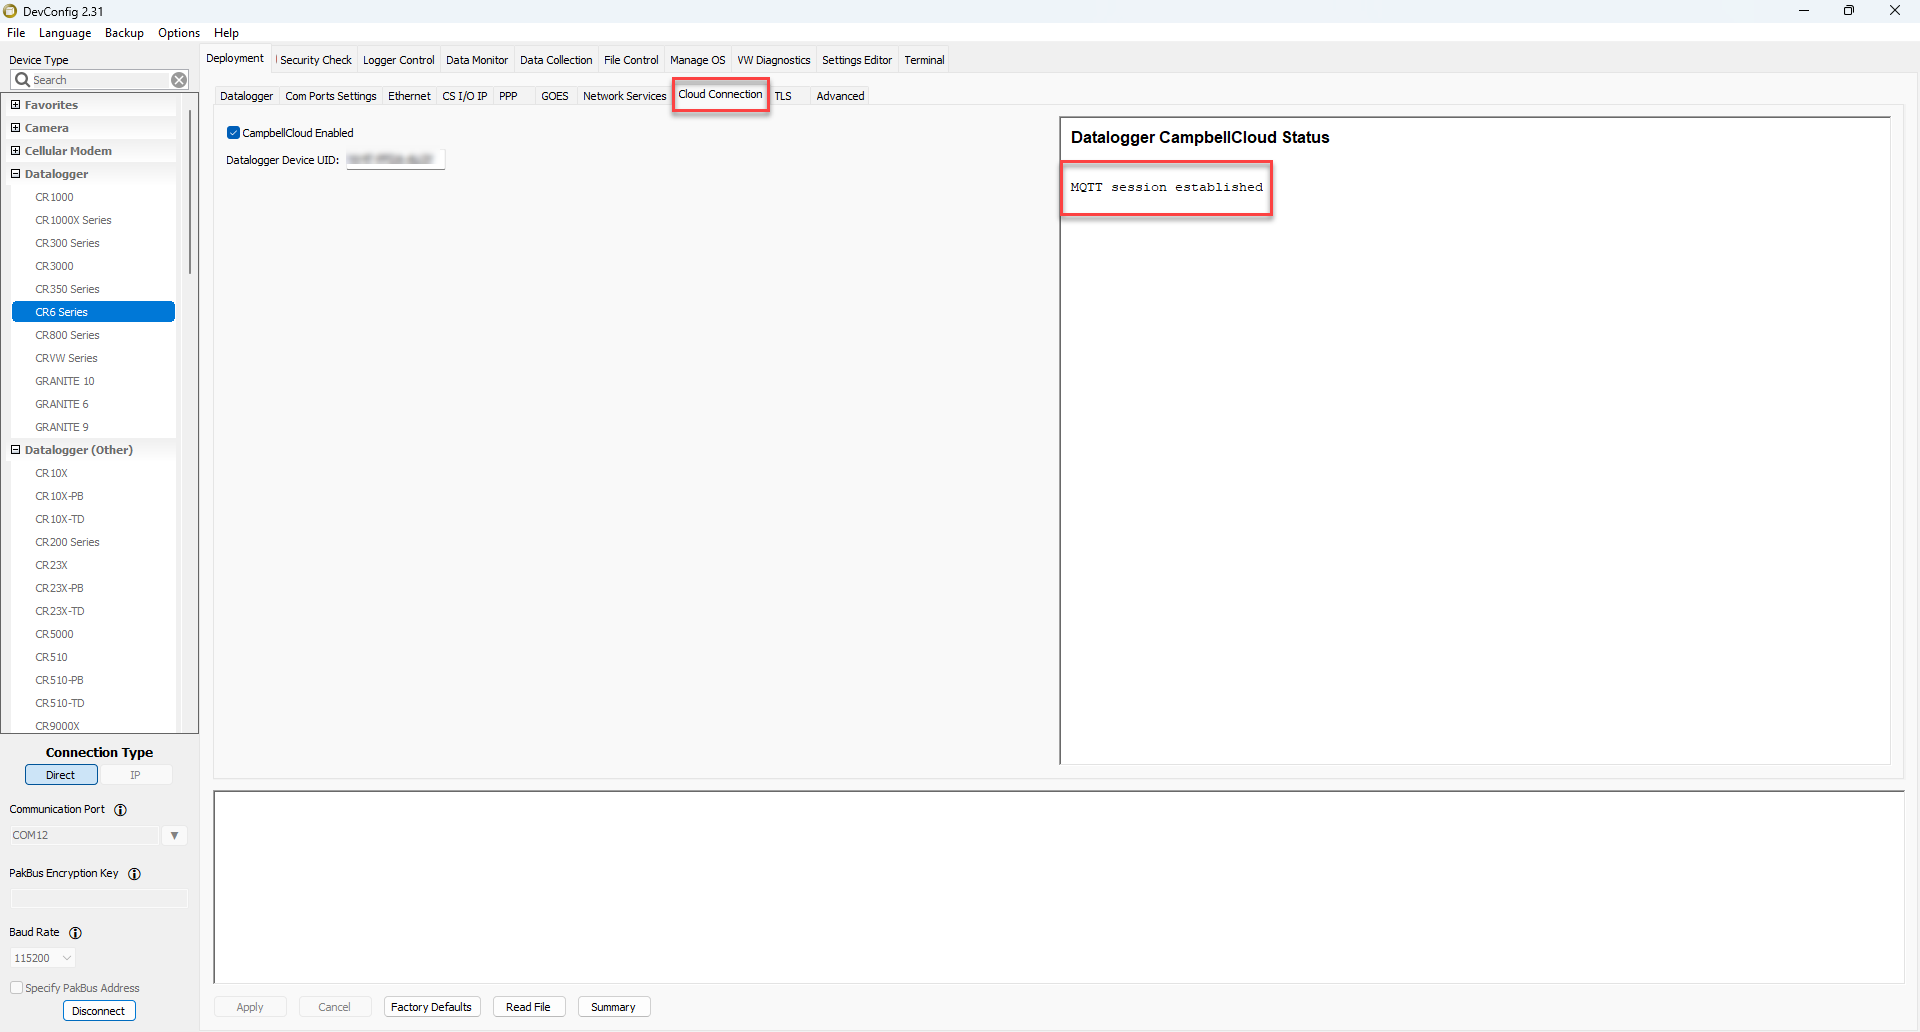
Reconnect to your data logger with Device Configuration Utility. Navigate to the Cloud Connection tab. The Datalogger CampbellCloud Status box on this tab displays the status of MQTT communications. Once the device is successfully connected, you should see MQTT session established in this box.
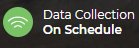
Your data logger should start at least publishing status information to CampbellCloud and the Data Collection state should say On Schedule.