Adding a station to a network
A network collects data from stations contained in the network. In this example, a station named Tutorial Station is added to a network named Tutorial Network.
-
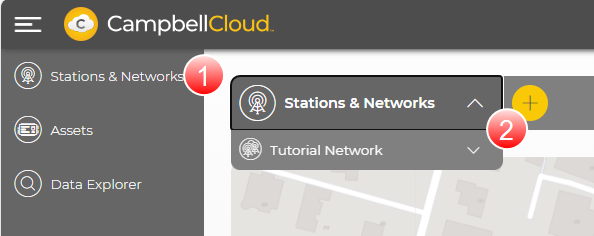
Select Stations & Networks from the application menu on the left.
-
In the Stations & Networks dropdown menu, select the renamed default network (see Renaming the default network). In this example the default network was renamed Tutorial Network.
-
No Stations Found appears. Click ADD A STATION.
-
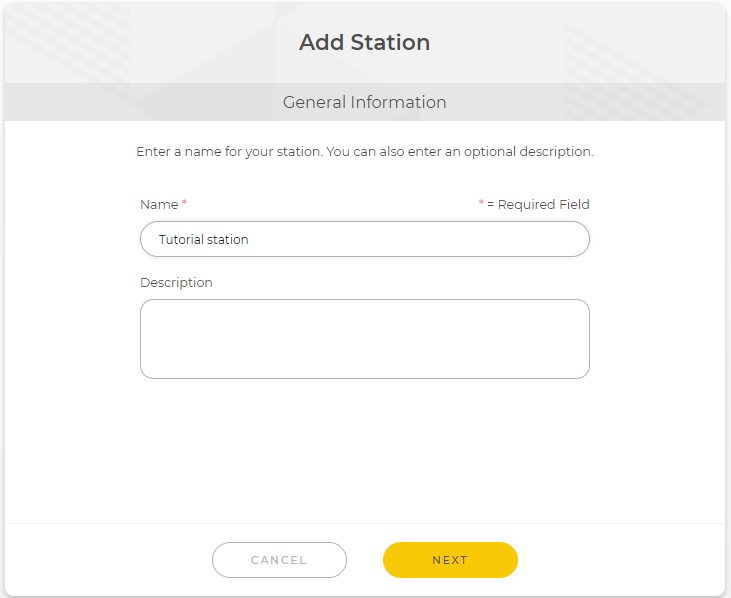
Enter a Name for the station.
-
(Optional) Enter a Description of this station. This could include a description of the sensor(s) at the station, the station location, or other meaningful information.
-
Click NEXT.
-
Enter the location of the station, including elevation (meters); or click on the map at the desired location. After specifying the location of the station, click FINISH.
NOTE:To simplify placing the pin at the correct location, click the View Fullscreen icon (highlighted in the following image) to expand the map. In fullscreen mode, use your mouse to pan the map and your mouse scroll wheel to zoom in or out. Fullscreen mode also has a dropdown that can be used to select the map layer style. When finished, click press Esc to exit fullscreen mode.
NOTE:For the pin to be visible on the map, browser permissions must be set to allow access to location. Stations without location information will appear under
 Hidden Stations Stations that are missing location data. They cannot be geo-located on a map. on the network map.
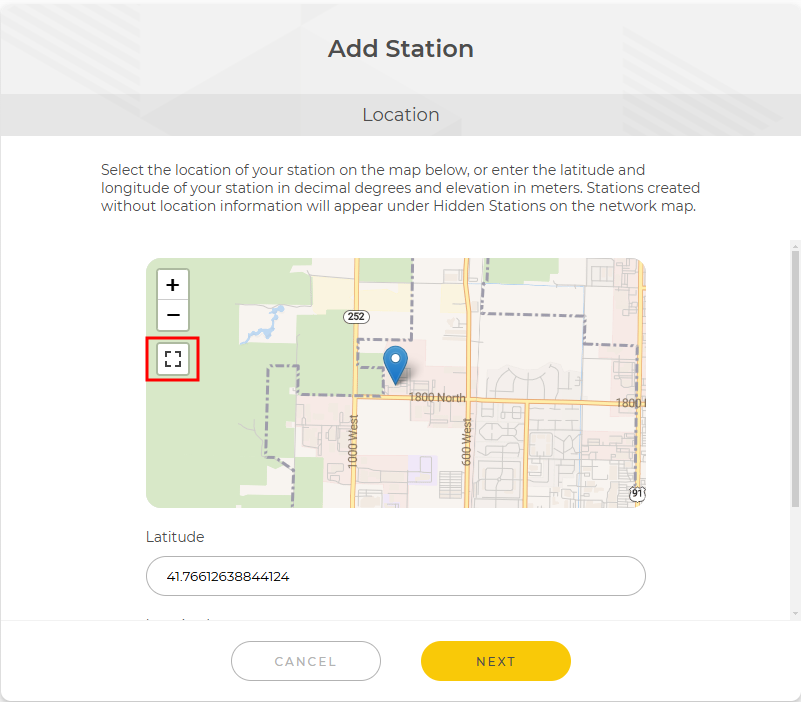
-
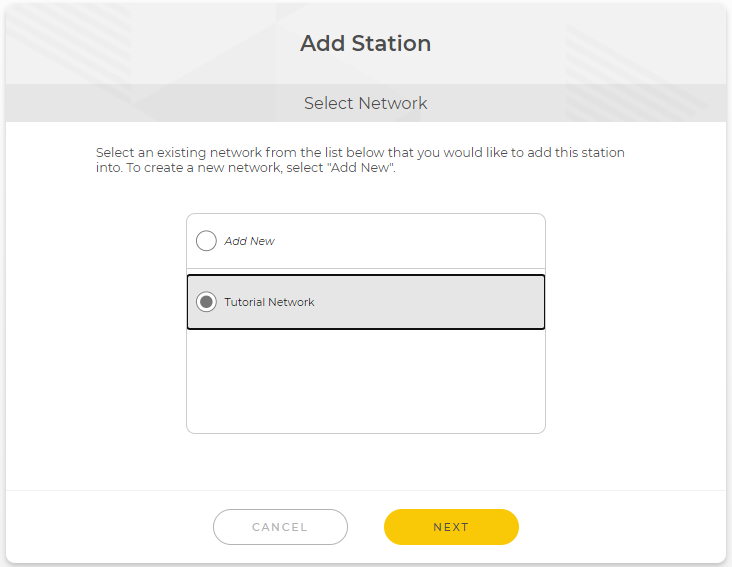
Select the network the station is being added to.
-
Click NEXT.
-
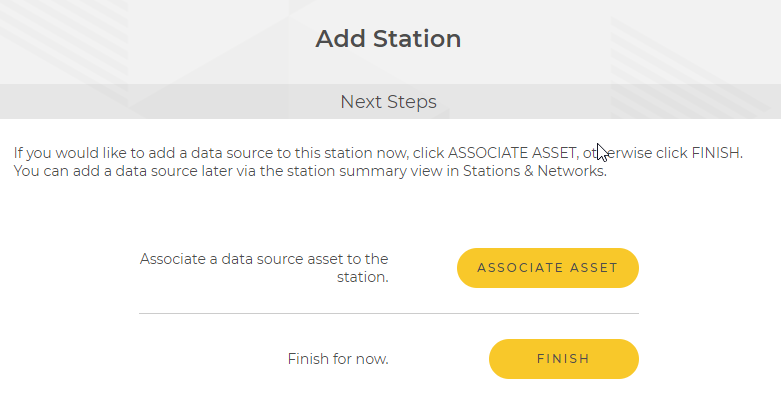
The station has been added to the network. You now have the option to associate an asset with the station or to finish later.