Mounting
-
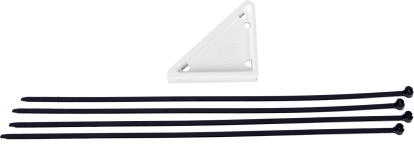
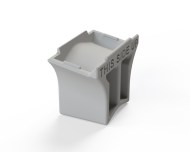
If needed, install the 10° or 45° tilt spacer, see Recommended solar panel orientation.

-
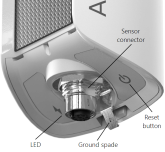
Connect the sensor to the Aspen 10. Hand tighten the connectors.
An AQ-cable allows automatic identification of any sensor with an SDI-12 identification. See the following table, or the sensor ordering details, for whether an AQ-conversion cable is required. Additionally, use an AQ-extension extension cable if the Aspen 10 cannot be collocated with the sensor.
CAUTION:Hand tighten only! Using tools to tighten the connectors can permanently weld the stainless steel connectors together.
Connector cables
Sensor Connect directly Use AQ-conversion cable
BaroVue 10 A151 termination box required
ClimaVue 50
✓
CS320
✓
CS451
CS456
A151 termination box required
HygroVue 10
✓
RainVue 10
RainVue 20
✓
RangeVue 15
RangeVue 30
✓
SnowVue 10
✓
SoilVue 10
✓
TempVue 20
✓
Wintersense SDI-12
✓
-
The LED will flash red and blue indicating the Aspen 10 is turning on, reading the sensor identification and obtaining a
 recipe A set of files that include the Aspen 10 program, settings and configuration for a specific sensor and application. (program and settings). See LED indicator and Recipes for more information.WARNING:
The Aspen 10 sensor connector is for Campbell Scientific approved sensors and cable only. The connector is rated for 12 VDC@ 210 mA max. Cable is rated for 30 VDC. Connections to an unsuitable sensor, cable, or device may result in damaged equipment or loss of data. Go to www.campbellsci.com
 for a list of compatible sensors and cables.


