ACEManager and template files
ACEmanager along with template files can be used to set up the RV50(X) in PPP or serial server mode. To enable PPP mode, see Enabling PPP mode.
ACEmanager is accessed via a web browser. For initial setup or troubleshooting with a direct (cabled) connection, connect a standard Ethernet (RJ45) cable between the Ethernet port on the computer and that on the module. Type https://192.168.13.31:9443 into a web browser.
RV50(X)s running OS version 4.13 and older had both HTTP port 9191 and HTTPS port 9443 enabled by default. When using HTTP (not HTTPS) with these older OS versions, enter the IP address using port number 9191, for example, http://192.168.13.31:9191.
Once the module is provisioned on the network, it may be accessed over the air by typing https:// followed by the IP address of the module, followed by the port :9443.
The first screen is a login (shown below). Look for a sticker on the bottom of your modem with the manufacturer-generated default password. Log in using User Name = user and that Password. If there is no sticker try 12345 for the password. Make note of the password used so it can be easily referenced when off site. Remote access to the modem interface will require the password.
We strongly recommend changing the default password to prevent unauthorized access and the potential of malware infection. The password can be changed from the Admin tab.
Failure to set a strong password in the RV50(X) may result in misuse of the modem by malware or hackers. Significant data overage charges may apply.
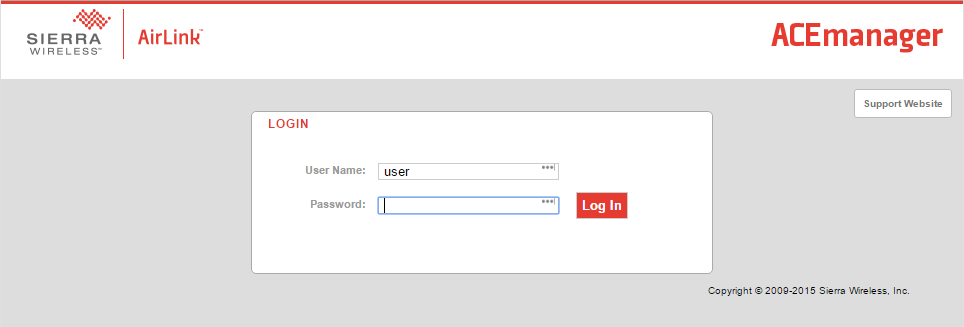
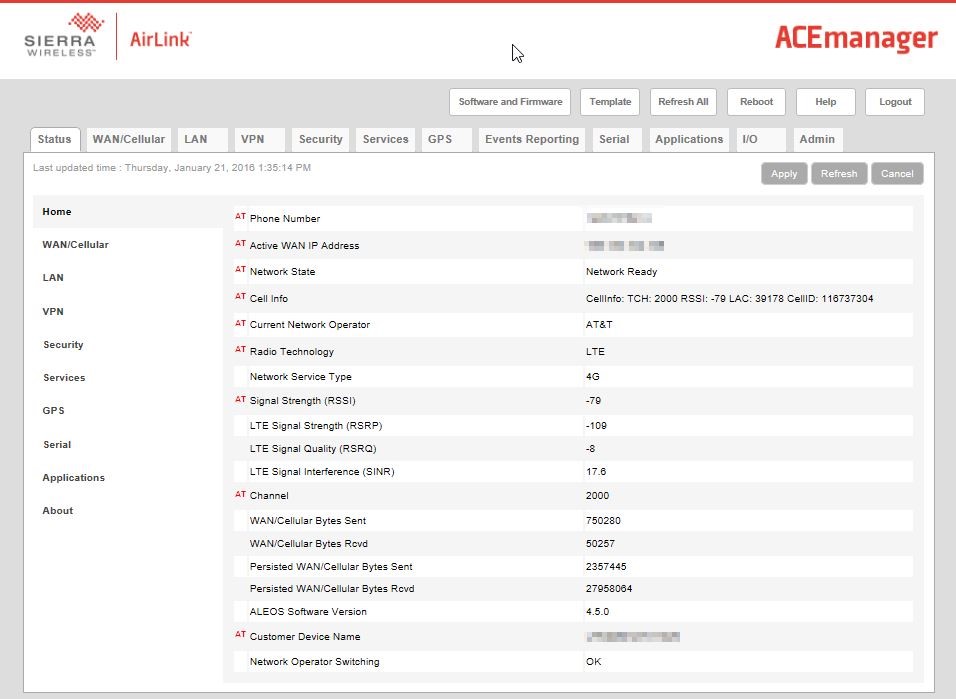
After entering the password and pressing enter (or clicking Log In), the following status screen is displayed:
RV50 template files from the Campbell Scientific website (www.campbellsci.com/downloads ![]() ) are used to configure the RV50(X) module using ACEmanager.
) are used to configure the RV50(X) module using ACEmanager.
| Template Files | |
|---|---|
| Template File Name | Description |
| RV50_115200.xml | Default configuration with RS-232 at 115200 baud and Ethernet communication enabled.1 |
| RV50_9600.xml | Default configuration with RS-232 at 9600 baud and Ethernet communication enabled.2 |
Click the Template menu in the top right of the screen. When prompted for a template file name, select RV50_115200.xml or RV50_9600.xml. The following screen shows the settings under the Serial tab after the 115200 baud template file has been loaded.

Click on WAN/Cellular for the following screen:
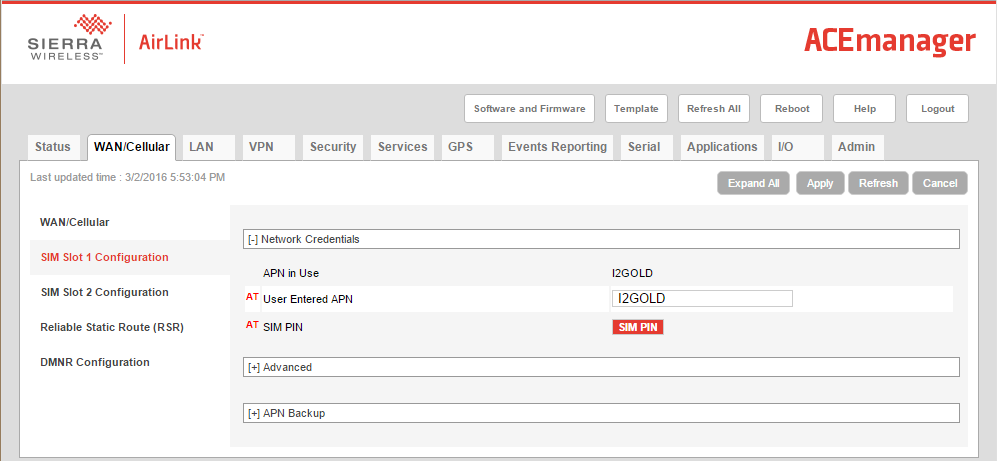
Enter the APN as shown in the screen above. The example is for an APN = I2GOLD.
After the template file has been loaded, and the APN entered, click Apply to save the changes in the module.
Click Reboot to restart the module. Alternately, reset the module by pressing Reset on the front of the module or by removing power from the module.
Click Logout to terminate communications with the module.
Unless you Apply the commands, the changes made will not be saved in the module. For most commands, you must reboot the module for the newly written values to take effect.
The module is now set up for PPP or serial server mode.