Changing an SDI-12 address
This example was done with a CR1000X, but the steps are only slightly different for Granite-series, CR6, CR800-series, CR300-series data loggers.
-
Connect an SDI-12 sensor to the CR1000X.
-
Open Device Configuration Utility.
-
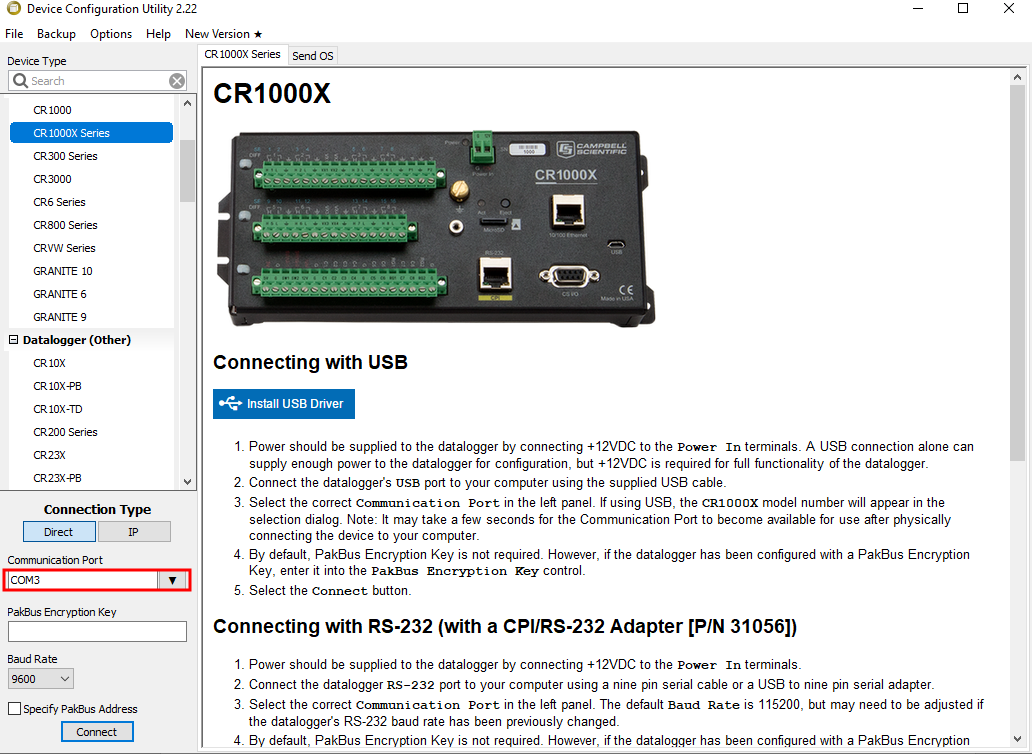
Under Device Type, type the data logger model and double-click on the model type. This example uses a CR1000X directly connected to the computer USB port.
-
Select the correct Communication Port and click Connect.

-
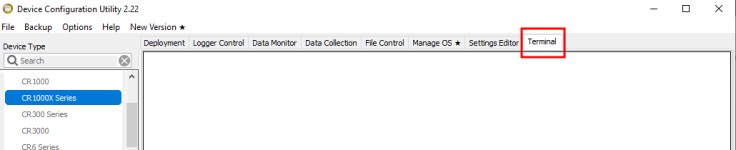
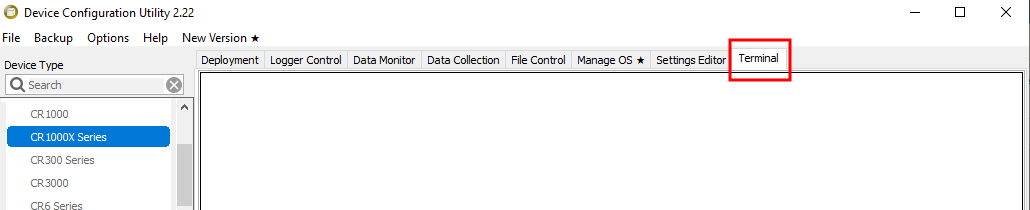
Click the Terminal tab.
-
Select All Caps Mode.

-
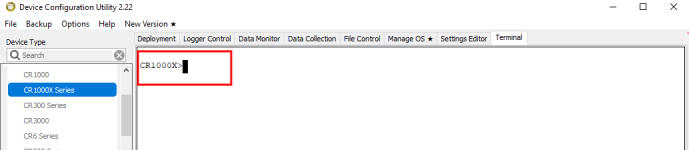
Press Enter until the data logger responds with the data logger (CR1000X>) prompt.
-
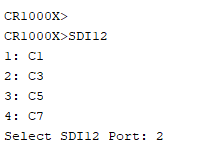
Type SDI12 and press Enter.
-
At the Select SDI12 Port prompt, type the number corresponding to the control port where the sensor is connected and press Enter. In this example the sensor is connected to C3. The response Entering SDI12 Terminal indicates that the sensor is ready to accept SDI-12 commands.

-
To query the sensor for its current SDI-12 address, type ?! and press Enter. The sensor responds with its SDI-12 address. If no characters are typed within 60 seconds, the mode is exited. In that case, simply type SDI12 again, press Enter, and type the correct control port number when prompted.

-
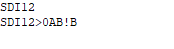
To change the SDI-12 address, type aAb!, where a is the current address from the previous step and b is the new address. Press Enter. The sensor changes its address and responds with the new address. In the following example, the sensor address is changed from 0 to B.
-
To exit SDI-12 transparent mode, click Close Terminal.


The transparent mode for the Granite-series, CR6, CR3000, CR800-series, CR300-series data loggers is similar to that shown for the CR1000X.